Shipwrecked enchiladas on the barbie
Don’t worry. You don’t have to destroy a boat to have these Shipwrecked Enchiladas on the Barbie. The name came about because I was originally going to call this dish something like Deconstructed Green Enchiladas with Cream Cheese. Well, that’s a mouthful (no pun intended). It’s also descriptive. But it’s boring and not something most people would remember. It was time to put on my mystery-writer’s hat and get creative. Which means we need to go back to the beginning.
I know. Shipwrecked Enchiladas on the Barbie is a rather unusual name. Originally, this dish was prepared on the stovetop and in the oven. And for summer, you know what that means. Heat in the kitchen. Yikes! Just what we do not want. Right? So let’s take it outside where we can enjoy the fresh air and let all that heat escape.
This started out as more of a traditional enchilada recipe. That can be a problem for people like me who can’t have flour tortillas because…well, have you ever tried to actually roll a corn tortilla? Not easy. The other problem with the more traditional recipes is that they add tons of cheese. The one that served as the starting point for this recipe included both jack and cream cheeses. Not just small amounts, but lots and lots. Sure, it would have been tasty enough (all that cheese, how could it not be good?), but the calorie count was the problem. Off. The. Charts. With that in mind, I set out to create something healthier, but with equal taste. Not a simple task.
One of the cool things about cheese is that even a small amount has great flavor when it’s on its own. By not drowning the cheeses in sauce, we bring out the flavor while minimizing the calorie count.

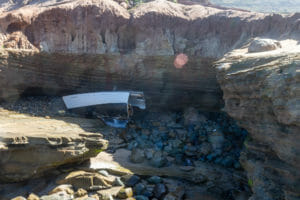
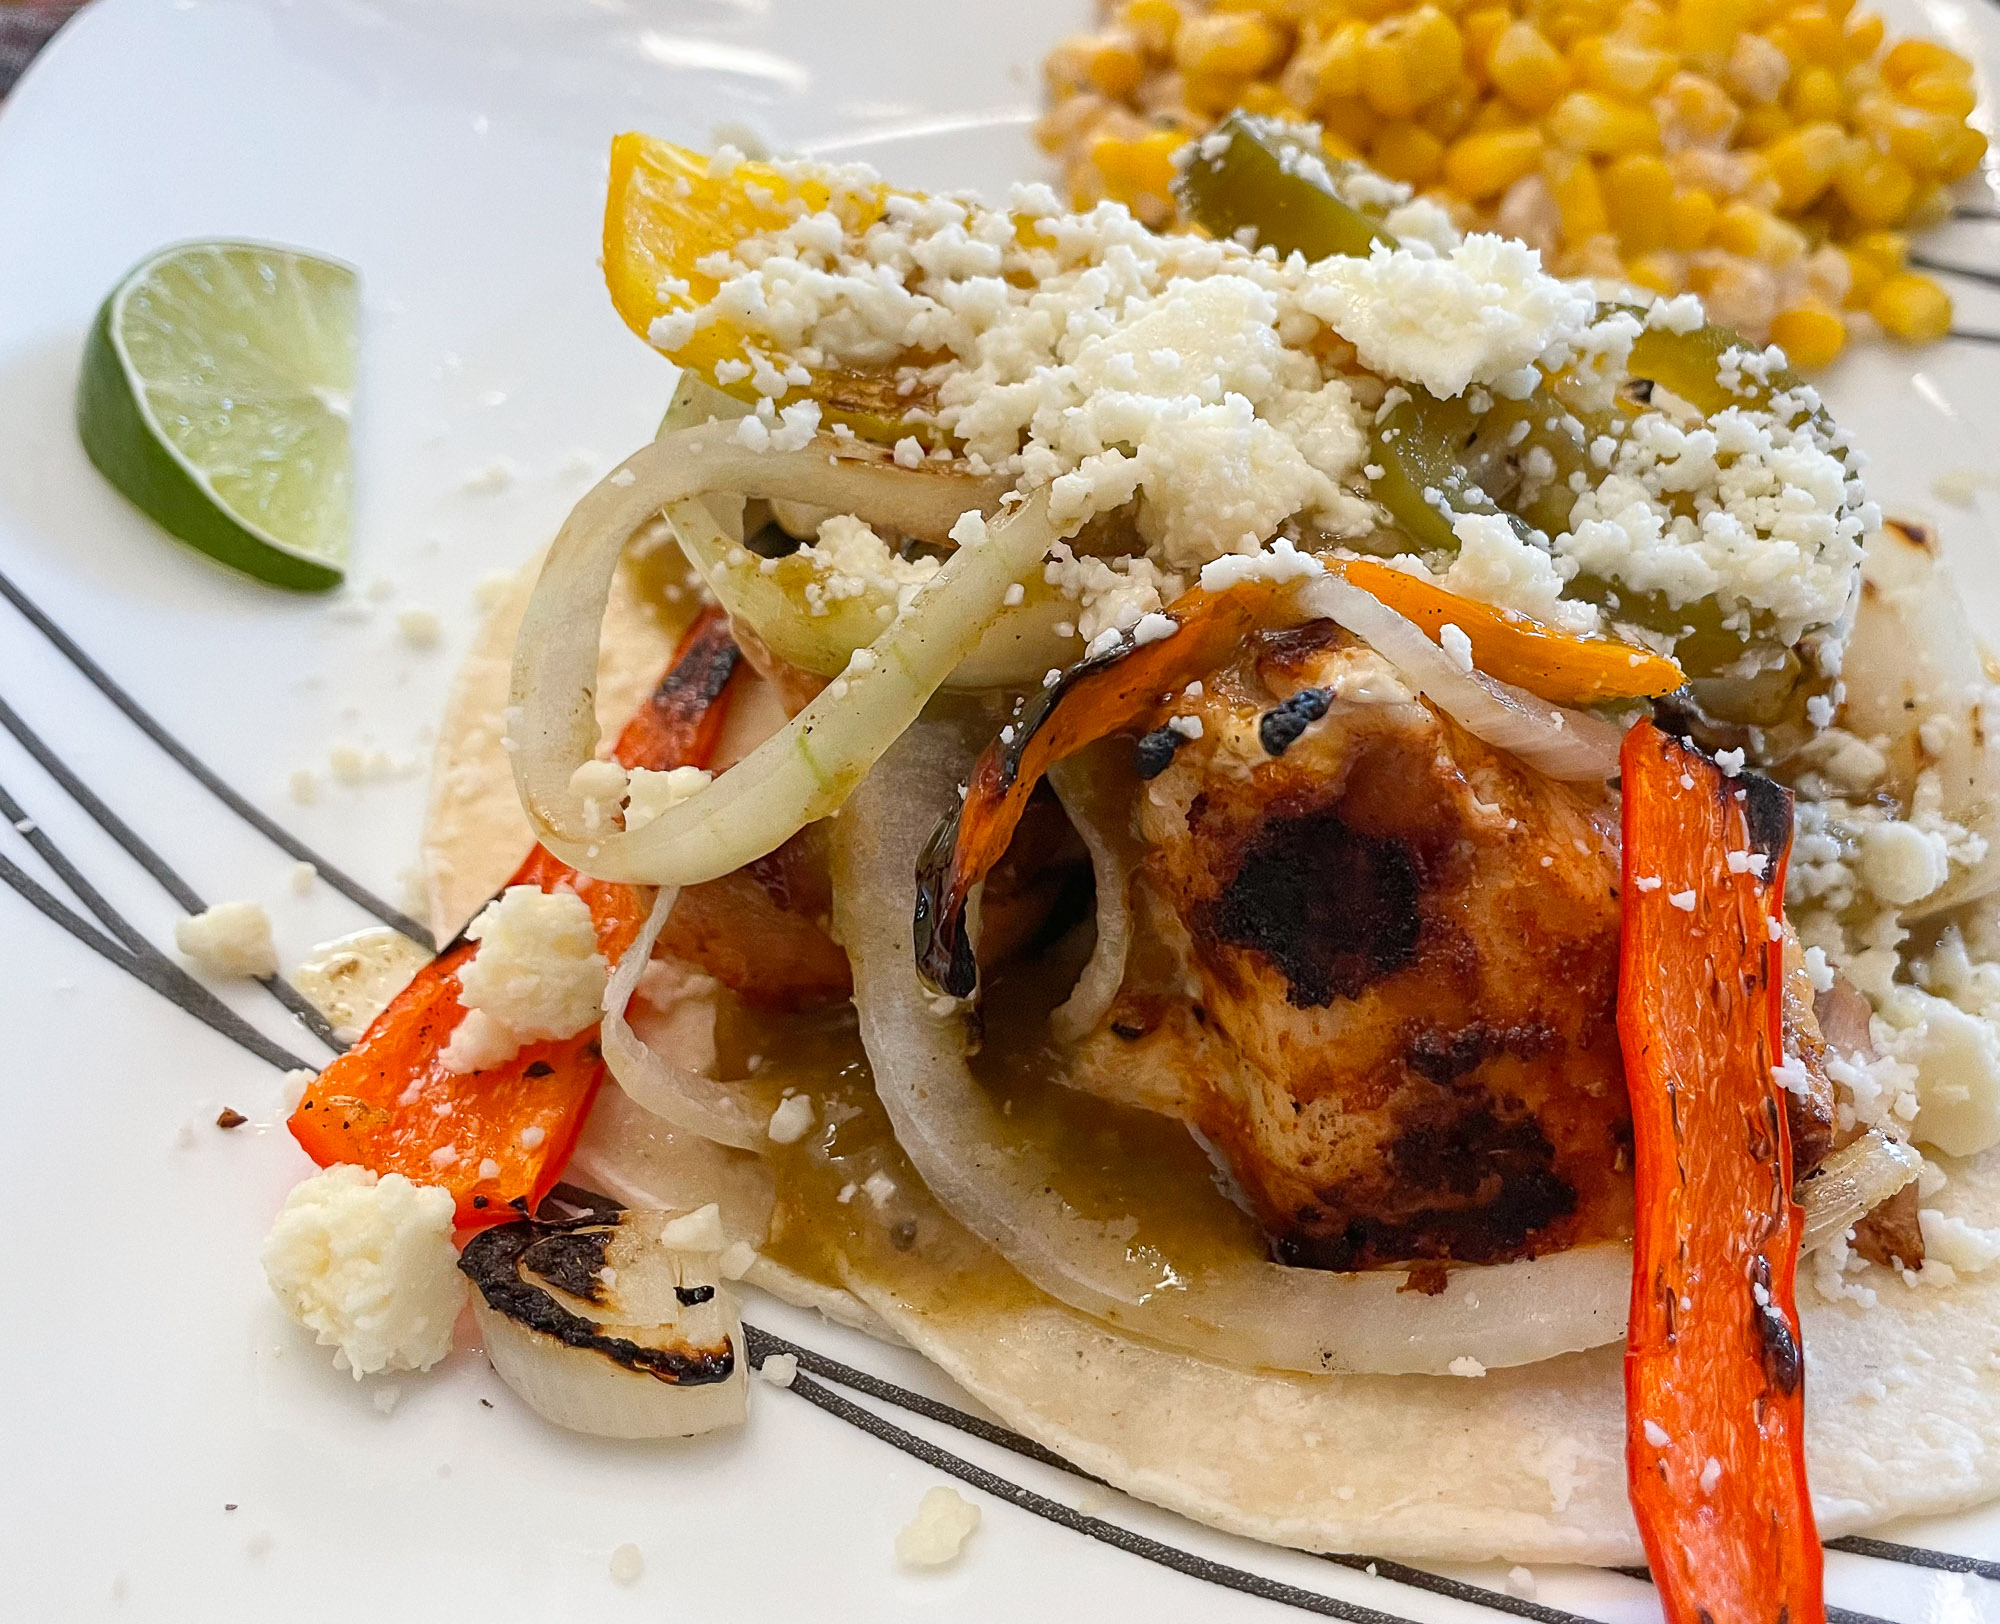
And that brings me to the shipwreck concept. When a ship crashes on the rocks, what do you wind up with? No, no, not the people floating around in the ocean! I’m talking about the ship. And its parts. They’re all separated, right? And there you have it. My Shipwrecked Enchiladas on the Barbie are served with the different parts broken out—kind of like a shipwreck. So don your boat shoes and let’s get cooking!
Did you see last week’s entry? If not, click here to check it out. Click here to view all my Friday Morning Post entries, or you can follow me on Instagram.
The recipe

Shipwrecked Enchiladas on the Barbie
Description
Here’s a way to have your enchiladas and a cool kitchen, too! A great way to fix enchiladas in the summer.
Ingredients
Instructions
Preparation
Preheat the barbecue to medium heat. Slice onion and peppers and set aside. Shred the cheese and set aside. Slice the chicken breast into 1 1/2 inch strips and set aside.
Seasonings
Combine 3 tbsp. extra virgin olive oil, juice of one lime, and the spices in a small bowl. Brush mixture on one side of the chicken.
Let's grill!
Place chicken on barbecue with the seasoned side down. Brush the remainder of the seasoning sauce on the top side. Grill chicken 4-6 minutes on the first side, then flip and grill until done. Check internal temperature of chicken with an instant read thermometer. When chicken is 165 degrees F, it is done.
While the chicken is on the grill, brush onion and peppers on one side with olive oil. Before turning the chicken to the second side, place the onions and peppers directly on the barbecue. Be sure to place them crosswise so they don’t slip through the grates.
Final steps
Heat the enchilada sauce in the microwave.
When the chicken and veggies are cooked, remove from heat. Put the chicken on one plate, the veggies on another.
Layer two tortillas on each plate. Place one chicken thigh and a slice of the breast on the tortilla (depending on the size of the pieces, you may only need one of these). Ladle the enchilada sauce over the chicken and tortillas, then top with onions, peppers, shredded cheese, and a dollop of cream cheese.
Note
We use boneless, skinless chicken to reduce the fat and to make preparation easier. However, if you’d prefer to use skin on and bone-in, simply adjust cooking times. Slicing the chicken breast is subjective. I’ve found that by cutting the chicken into slices about 1 1/2 inches thick, they cook nicely and do not dry out.
We prefer cotija cheese over Monterey Jack. But a small block, then crumble what you need right on top of each serving.
If you’re serving two people, cook up all the chicken and veggies, then set half aside when they’re ready. Next time around, all you need to do is heat everything up and you’re ready to go!


Thank you for the recipe. It looks yummy. I also like your name for it. 🙂
Thanks, Marie! I hope you enjoy it!
Thanks so much for this recipe oh I like your name for it