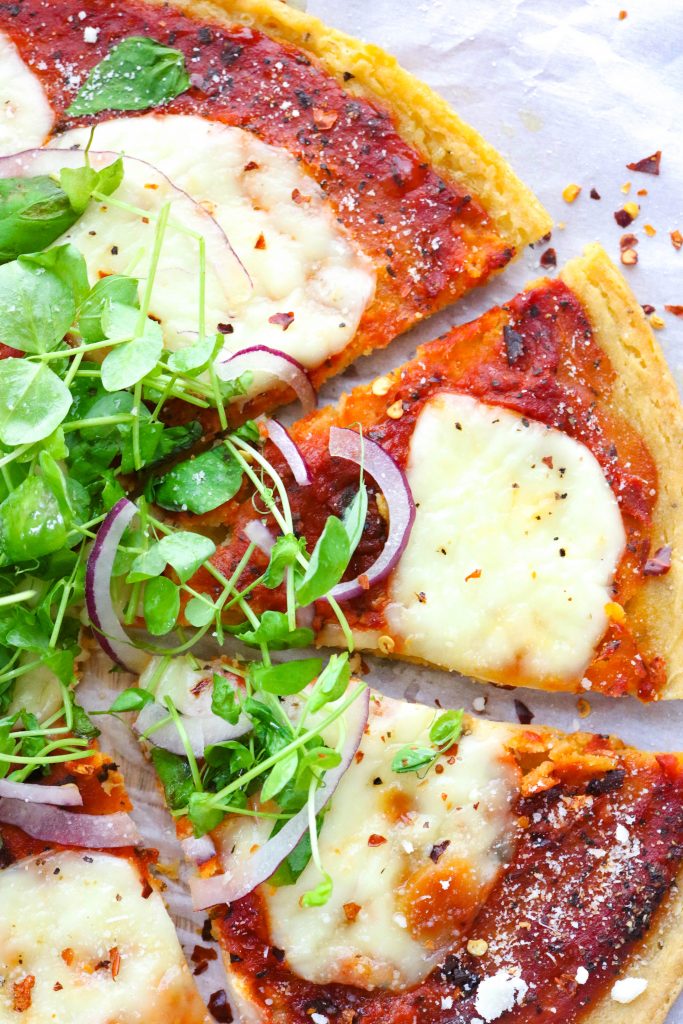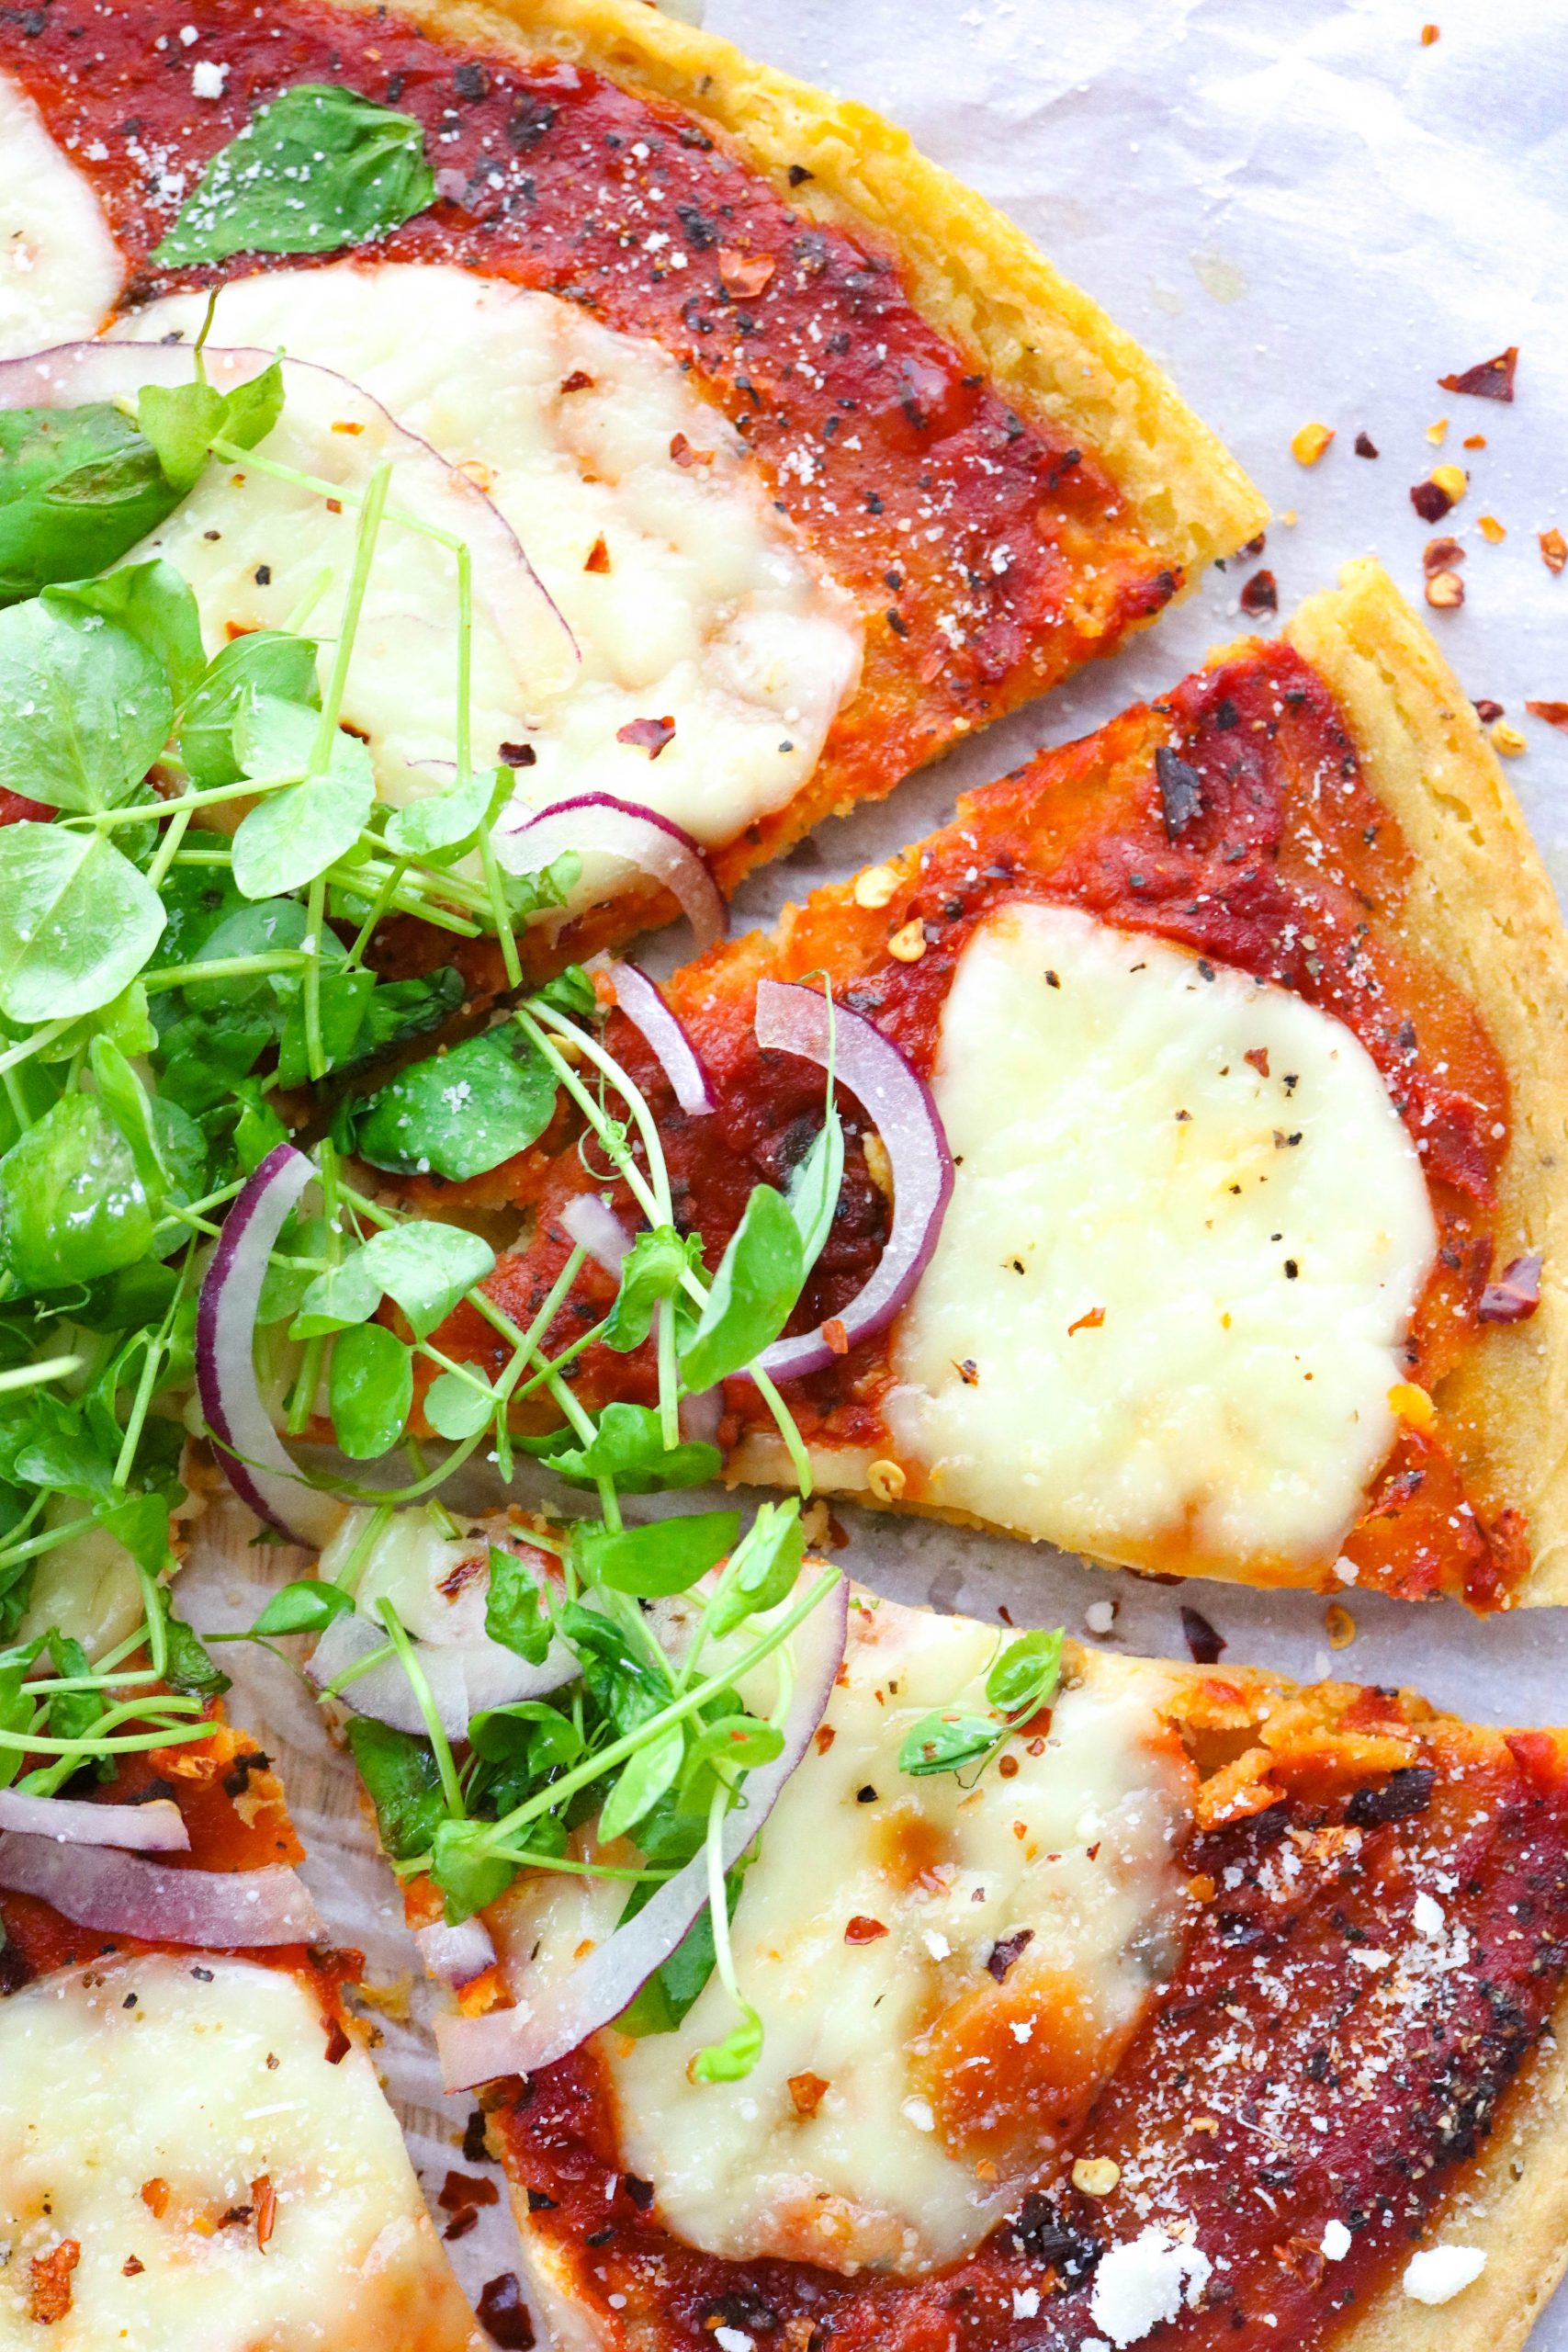
Who loves pizza? Anybody who’s not watching their waistline, right? Whether that description fits you, or you just want a little less bread, here’s a tasty solution. This chickpea pan pizza crust uses dried, uncooked chickpeas, or as much of the world knows them, garbanzo beans.
Being the proud owners of a new workhorse of a food processor, we decided to make our own chickpea flour. Did we accomplish our mission? Yes. Did we almost lose our hearing in the process? Double yes. I never realized how hard dried, uncooked chickpeas were until we hit the on switch. The noise was deafening, kind of like trying to grind up small rocks!. The easier (and more hearing-friendly solution) is to buy the chickpea flour. It’s readily available in grocery stores, especially where they sell items in bulk.
The beauty of this crust is you can get as creative as you want with the toppings. The only caveat is that this is only about a 10″ pizza, so a little restraint will go a long ways toward not overloading your chickpea pan pizza. The original recipe called for this to be made in a cast-iron skillet. Lacking one of those, I make this pizza in a stainless steel skillet and it works beautifully. The secret is in coating the skillet surface with olive or avocado oil just before adding the batter to the pan.
Want to see more recipes from our kitchen? Most are gluten-free! Check them out on the Recipes page.
Chickpea Pan Pizza

- 1 cup chickpea flour (136 grams 1 cup room temperature water 3 tbsps olive oil)
- salt and pepper
- 1 cup pizza sauce (substitute pasta or tomato sauce, if desired)
- 4 oz shredded mozzarella cheese
- 1 tsp dried rosemary
- 2-3 tbsp extra virgin olive oil or avocado oil (1 tbsp for batter, 1-2 for coating skillet)
Preheat the oven to 450 degrees F and place a cast iron or stainless steel skillet in the oven while it preheats.
Meanwhile, add the chickpea flour, rosemary, and a few grinds of pepper to a medium-size mixing bowl and whisk to combine.
Continue whisking and slowly pour in 1 cup of warm water and set aside. The mixture will thicken a little as it sits.
When the over reaches 450 degrees, add 1 tablespoon of olive oil to the chickpea flour and whisk lightly.
Using oven mitts, remove skillet from hot oven and brush with 1-2 tablespoons of olive or avocado oil to coat the bottom of the pan. Be careful, the pan is very hot!
Pour the chickpea batter evenly into the skillet. Place the pan back into the oven and bake for 12-15 minutes. Until the edges start to get nice and golden brown and crispy. (In our oven, it takes a full 15 minutes.)
While the batter is baking, prepare your toppings. Measure out the sauce and set aside. Shred the cheese and set aside. We love artichoke hearts and roasted red peppers along with some shredded parmesan. Whatever your toppings, get them ready and have them assembled in a iine so they're ready to go in the next step.
Remove the pan from the oven and top the crust with the sauce, other toppings, and cheese. Place the skillet back into the oven to bake for 12-15 additional minutes, until the cheese is melted and starting to brown.
Remove the pizza from the oven and carefully transfer it to a cutting board. Slice and serve.
The original recipe comes from Pinch Me Good.
The secret to making sure this crust works perfectly is to use a silicone brush to coat the skillet with oil and to be sure the skillet is completely coated.
I tried using a 12″ stainless steel skillet to make this, but the skillet was just a bit too large. When I switched to a 10″ skillet, it worked perfectly. You can be as creative as you want with toppings, but remember this pizza is not that big and more toppings mean a longer baking time.

